Blog
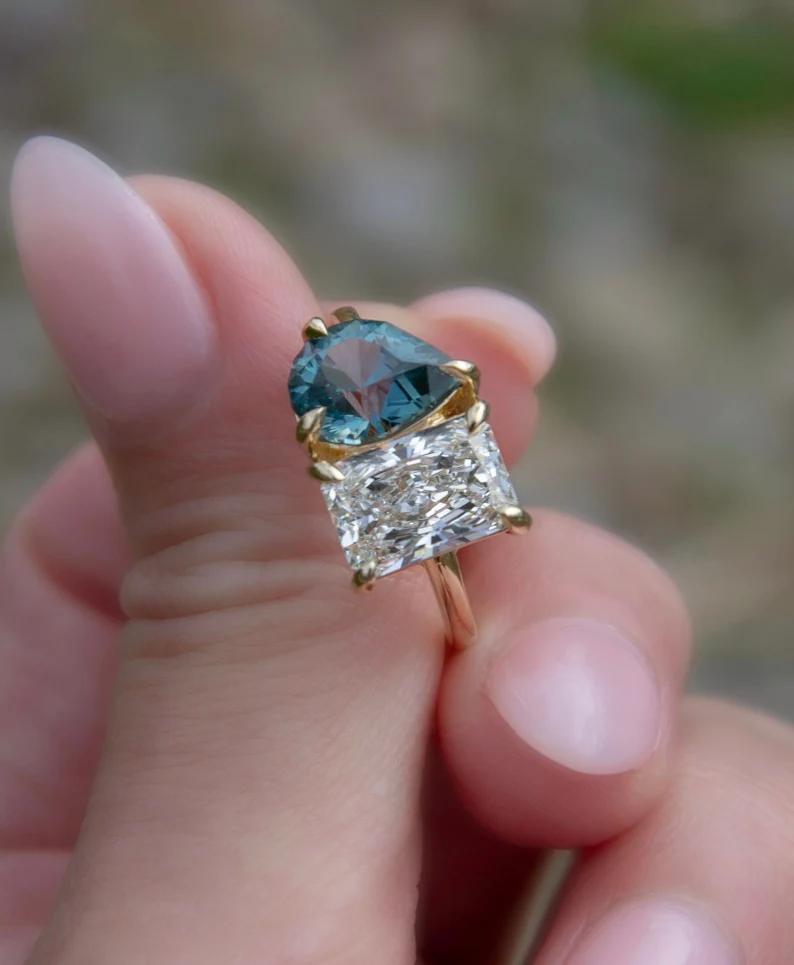
Three-Stone Proportions: The Side Stone Ratio That Sings
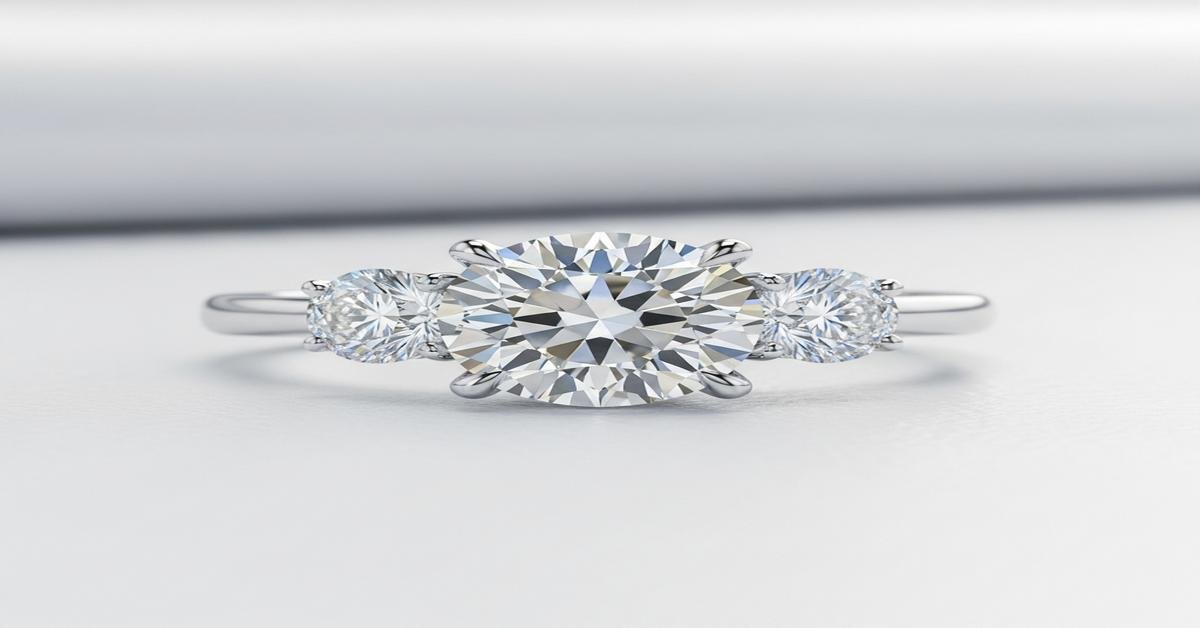
Three-stone rings rely on proportion. The center stone sets the focal point, and the side stones must support it without overpowering or disappearing. The right side-stone ratio makes the design read as one cohesive piece. Below I explain the math, the visual effects, and practical rules you can use when choosing side stones — with clear examples in carats and millimetres so you can compare options confidently.
What “side-stone ratio” means and why it matters
Side-stone ratio has two common meanings:
- Per-side ratio: the carat weight of one side stone relative to the center stone (for example, each side is 0.33ct when the center is 1.0ct = 33%).
- Total side weight (TSW) ratio: the combined weight of both side stones relative to the center (for example, two 0.25ct sides against a 1.0ct center = TSW 0.50ct, or 50% of the center).
Why it matters: human vision reads area and outline more than carat weight. A side stone that is too large will steal attention. One that is too small will look like chips. Choosing the right ratio balances visual weight and maintains symmetry.
Common ratios and specific examples
Below are practical ranges with examples in carats and approximate millimetres (round brilliant equivalents). Millimetres are useful because diameter directly affects how the ring looks on the finger.
- Classic balance (each side 30–40% of center)
- Example: 1.00ct center (~6.5mm) with two 0.33–0.40ct sides (~4.4–4.9mm each). Each side is ≈33–40% of center; TSW is 66–80% of center. This reads balanced without detracting from the center.
- Example: 2.00ct center (~8.2mm) with two 0.65–0.80ct sides (~5.6–6.0mm each).
- Bold look (each side 45–70% of center)
- Example: 1.00ct center with two 0.45–0.70ct sides (≈5.0–5.8mm). The ring feels more symmetrical and luxurious; side stones share the stage.
- Use this for three-stone designs intended to look nearly equal in presence.
- Subtle accent (each side 15–25% of center)
- Example: 1.50ct center (~7.4mm) with two 0.25–0.35ct sides (~4.1–4.6mm). The sides provide sparkle but keep full attention on the center.
- Good when a large center is the clear focal point or when you add a halo — the halo increases perceived center size, so smaller sides work better.
How shape and cut change perceived proportion
The shape of the side stones changes how large they look:
- Brilliant cuts (round, princess): read by diameter and face-up area. A 0.50ct round (~5.1mm) looks noticeably smaller than a 0.75ct (~5.8mm).
- Elongated shapes (pear, marquise): look larger because of length. A 0.50ct pear will appear longer and more dramatic than a 0.50ct round, so you can use slightly smaller carat weight when you want length without extra bulk.
- Step cuts (baguette, emerald): reflect light differently. They appear sleeker and can look smaller face-up than a brilliant cut of the same weight. Because they emphasize clarity, match clarity grade closely to avoid visible inclusions.
- Tapered shapes: Tapered baguettes intentionally reduce mass near the setting to frame the center; they often use less weight but still read as substantive.
Setting style, metal, and how they affect visual balance
The setting changes perceived size as much as the stones do. A halo around the center increases perceived size, so sides can be smaller. Bezel settings slightly reduce face-up appearance compared with prongs. Pavé shoulders add sparkle that can substitute for larger side stones.
Metal and alloy matter for durability and appearance:
- 14k gold (about 58% gold, 42% alloy): harder than 18k, allows thinner prongs without sacrificing strength. Good for everyday wear.
- 18k gold (about 75% gold): richer colour but softer. Use slightly thicker prongs in delicate designs.
- Platinum (≥95% Pt if stated as platinum): denser and more durable—preferred for secure three-stone settings, especially with heavier side stones.
Matching colour, clarity and cut — the practical why
Why match grades? Side stones sit close to the center. Differences in colour or clarity are obvious when stones are adjacent. Practical rules:
- Match colour within 1–2 GIA steps (for example, G with H). If your center is high colour (D–F), choose side stones close to preserve harmony.
- Match clarity more tightly for step cuts; for brilliant cuts, you can accept a slightly lower clarity if the inclusions aren’t visible face-up.
- Match cut style: brilliant side stones reflect light similarly to a brilliant center. Pairing a brilliant center with step-cut sides deliberately creates contrast — use this intentionally and match quality to avoid a jarring look.
A quick practical checklist before you buy
- Decide the look: do you want the center to dominate, to be equal, or to share the stage?
- Use per-side ratios: 30–40% for classic, 45–70% for bold, 15–25% for subtle accents.
- Compare millimetre diagrams or request CAD renders; carat alone doesn’t show face-up size.
- Match colour/clarity and ensure side stones are near the same cut quality as the center (or intentionally different for contrast).
- Choose metal with strength in mind: 14k or platinum for thinner prongs and daily wear.
- See the ring in person when possible. Photos can mislead. Try sizes on similar finger proportions to judge balance.
Proportion is both measurement and judgment. Use the numbers above as a baseline, then adjust for shape, setting, and personal taste. When proportions sing, the ring looks intentional — not assembled — and that’s what makes a three-stone ring timeless.